这里收集了一些 hexo-next 主题优化的方法
文章显示摘要图片
重点参考了:打造个性超赞博客 Hexo + NexT + GitHub Pages 的超深度优化,在此感谢原作者的分享!
先在主题配置中找到下面的代码,并修改:
1 | # Automatically excerpt description in homepage as preamble text. |
之后在 ~/blog/themes/next/layout/_macro/post.swig 特定位置添加下面的代码:
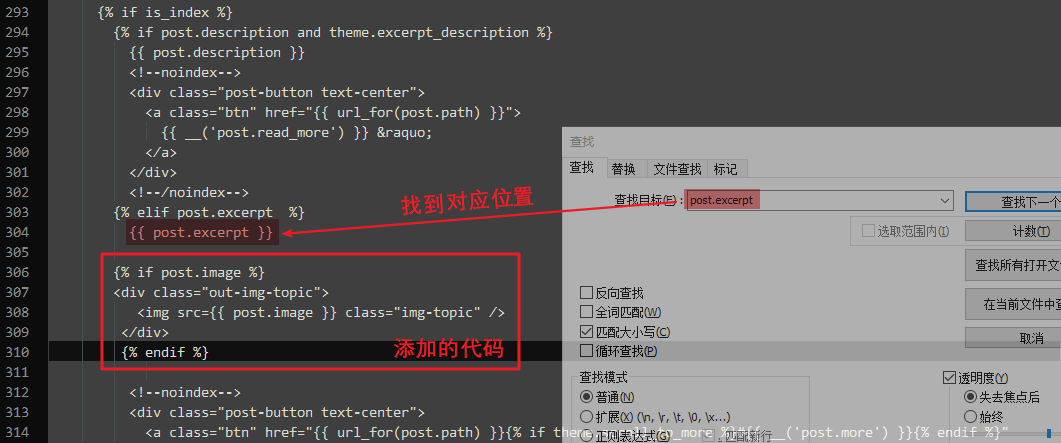
1 | {% if post.image %} |
为了防止有的图片宽度不够导致风格不够统一,页面不美观,需要在~/blog/themes/next/source/css/_custom/custom.styl中加入:
1 | // 自定义的文章摘要图片样式 |
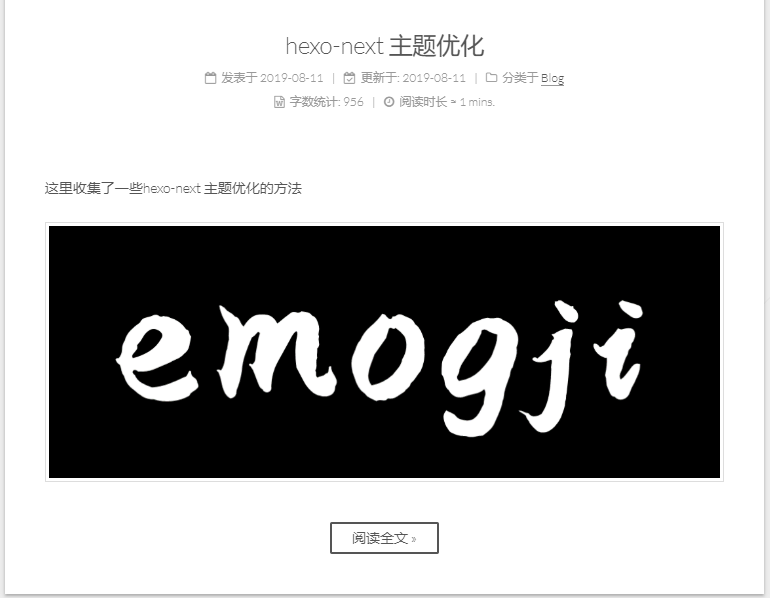
最后编辑有这需求的相关文章时,在Front-matter(文件最上方以---分隔的区域)加上一行: image: url 即可。
最终得到的效果如下,emmmm 其实还是挺丑的…(不管那么多了,能用就行!
让页脚的心跳动起来
重点参考了:打造个性超赞博客 Hexo + NexT + GitHub Pages 的超深度优化,在此感谢原作者的分享!
首先编辑主题配置文件(~/themes/next/_config.yml),将icon: user 改为 icon: heart
然后编辑页脚样式(~/themes/next/layout/_partials/footer.swig),将其中的<span class="with-love"> 改为 <span class="with-love" id="heart">
接着编辑~/themes/next/source/css/_custom/custom.styl,加入:
1 | // 自定义页脚跳动的心样式 |
给博客添加豆瓣读书/电影/游戏页面
https://bestzuo.cn/posts/blog-establish.html
给博客添加鼠标点击特效
https://bestzuo.cn/posts/446056512.html
添加 valine 评论系统
https://valine.js.org/quickstart.html
https://io-oi.me/tech/hexo-next-optimization.html#contents:点击侧栏头像回到博客首页
在 D:\BLOG\blog\themes\NextNewSanarous\layout_macro\carousel.swig

http://mashirosorata.vicp.io/HEXO-NEXT 主题个性化配置.html